Email authentication changes coming in February 2024
There’s a crucial update coming our way in February 2024 from Gmail and Yahoo! regarding email authentication. From this time, both companies have required bulk senders to authenticate their email domains.
This means that starting February 2024, it is mandatory to authenticate your domain in Prowly in order to continue sending emails through our platform.
For detailed instructions on how to authenticate your domain in Prowly, please refer to our Help Center article.
There are two places where you can add an email to a campaign in Prowly. If you have already created or distributed your email, you can implement it into a campaign in its analytical dashboard, but if you have just started email creation, you can assign it to the campaign in the last step of this process.
Email already created or sent
- Go to Emails
- Find an email and click it
- Click the pencil icon next to the empty field in Campaign
- Select a campaign from the drop-down menu and save changes
If you would like to assign a distributed email to a new campaign here, you need to create it first. Go to Emails and choose the New Campaign option.
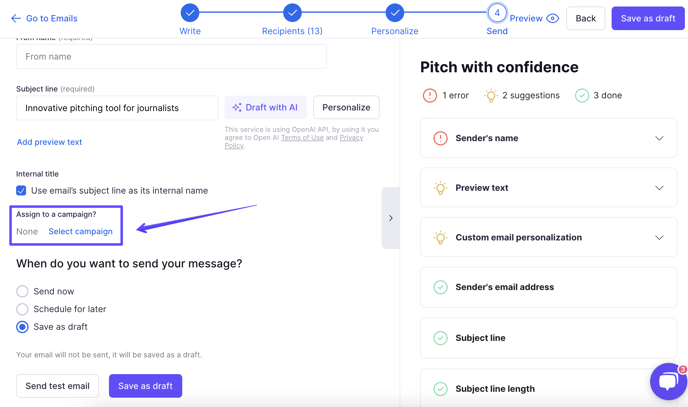
Email being created
- Go to Emails and click New Email
- Prepare your email and in the last step, Send, click the Select campaign button
- If there is no campaign you want to pin the email to, click Create new campaign
- Name it and save changes
The campaign will be saved in the system with the email being created attached to it.