This article contains instructions on how to configure DNS records necessary for domain authentication in Prowly when your domain provider is Amazon Route 53. If you use any other domain provider or do not know how to enable authentication in Prowly, please take a look at this article first.
1. After logging into your Amazon account, please head over to Route 53 and in the left navigation menu please click on Hosted zones and choose your desired domain: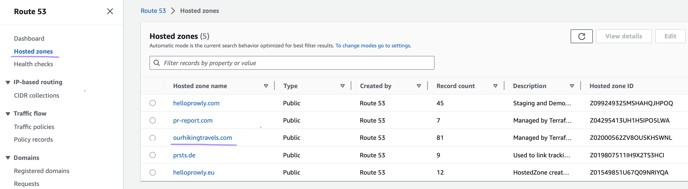
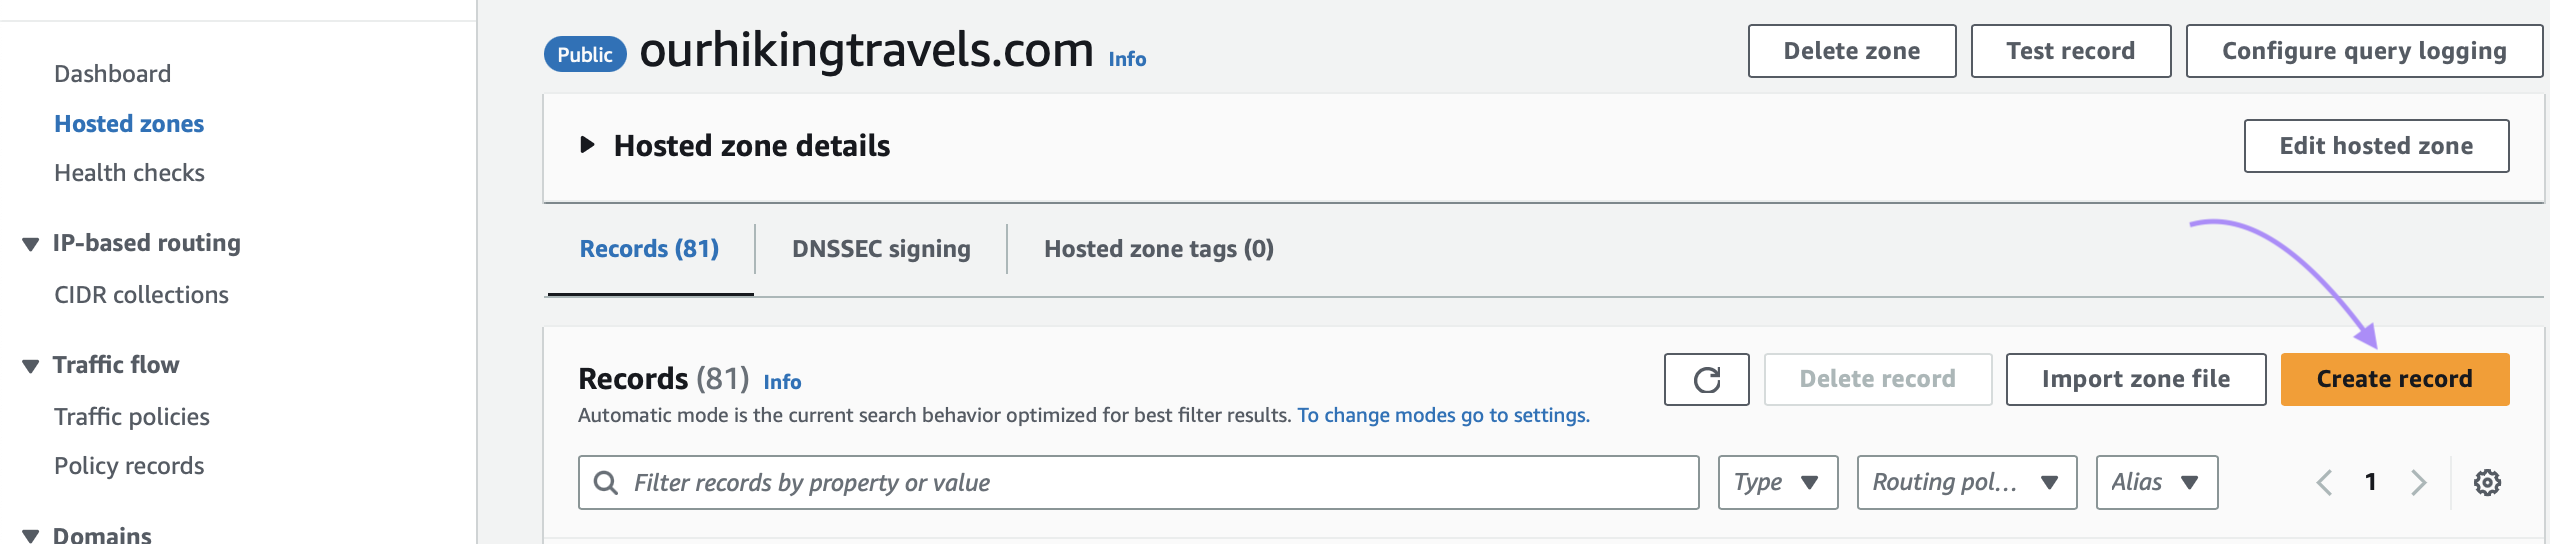
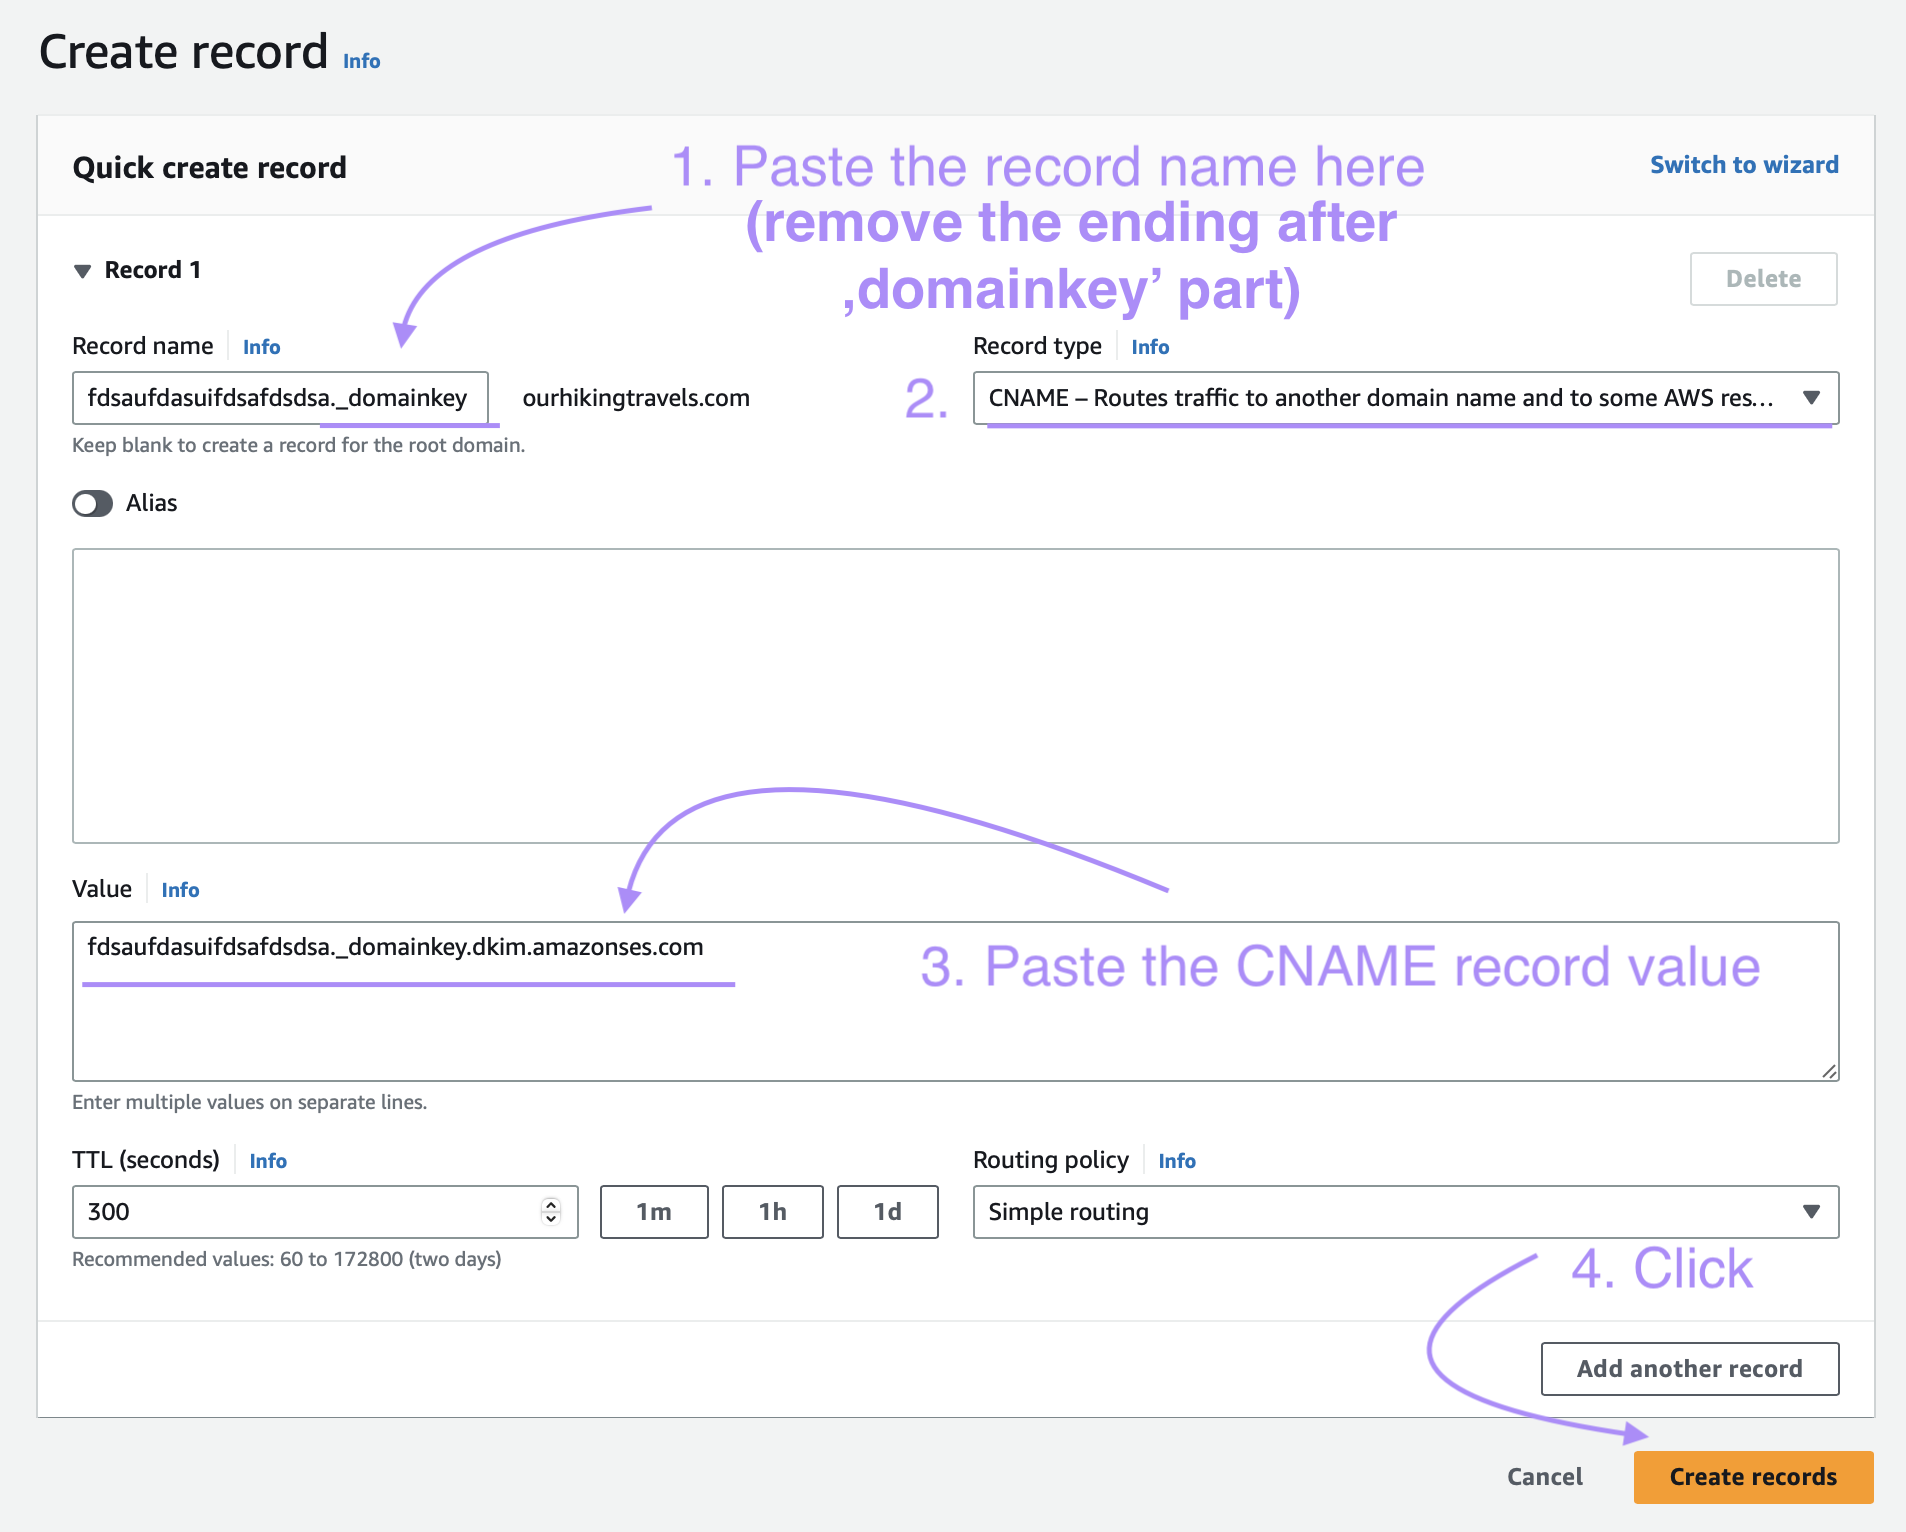
2. Click on the Create record button:
3. Now you will need to insert one required TXT record and three required CNAME records.
As in the Prowly domain authentication screen please insert each of the DNS records one by one as follows:
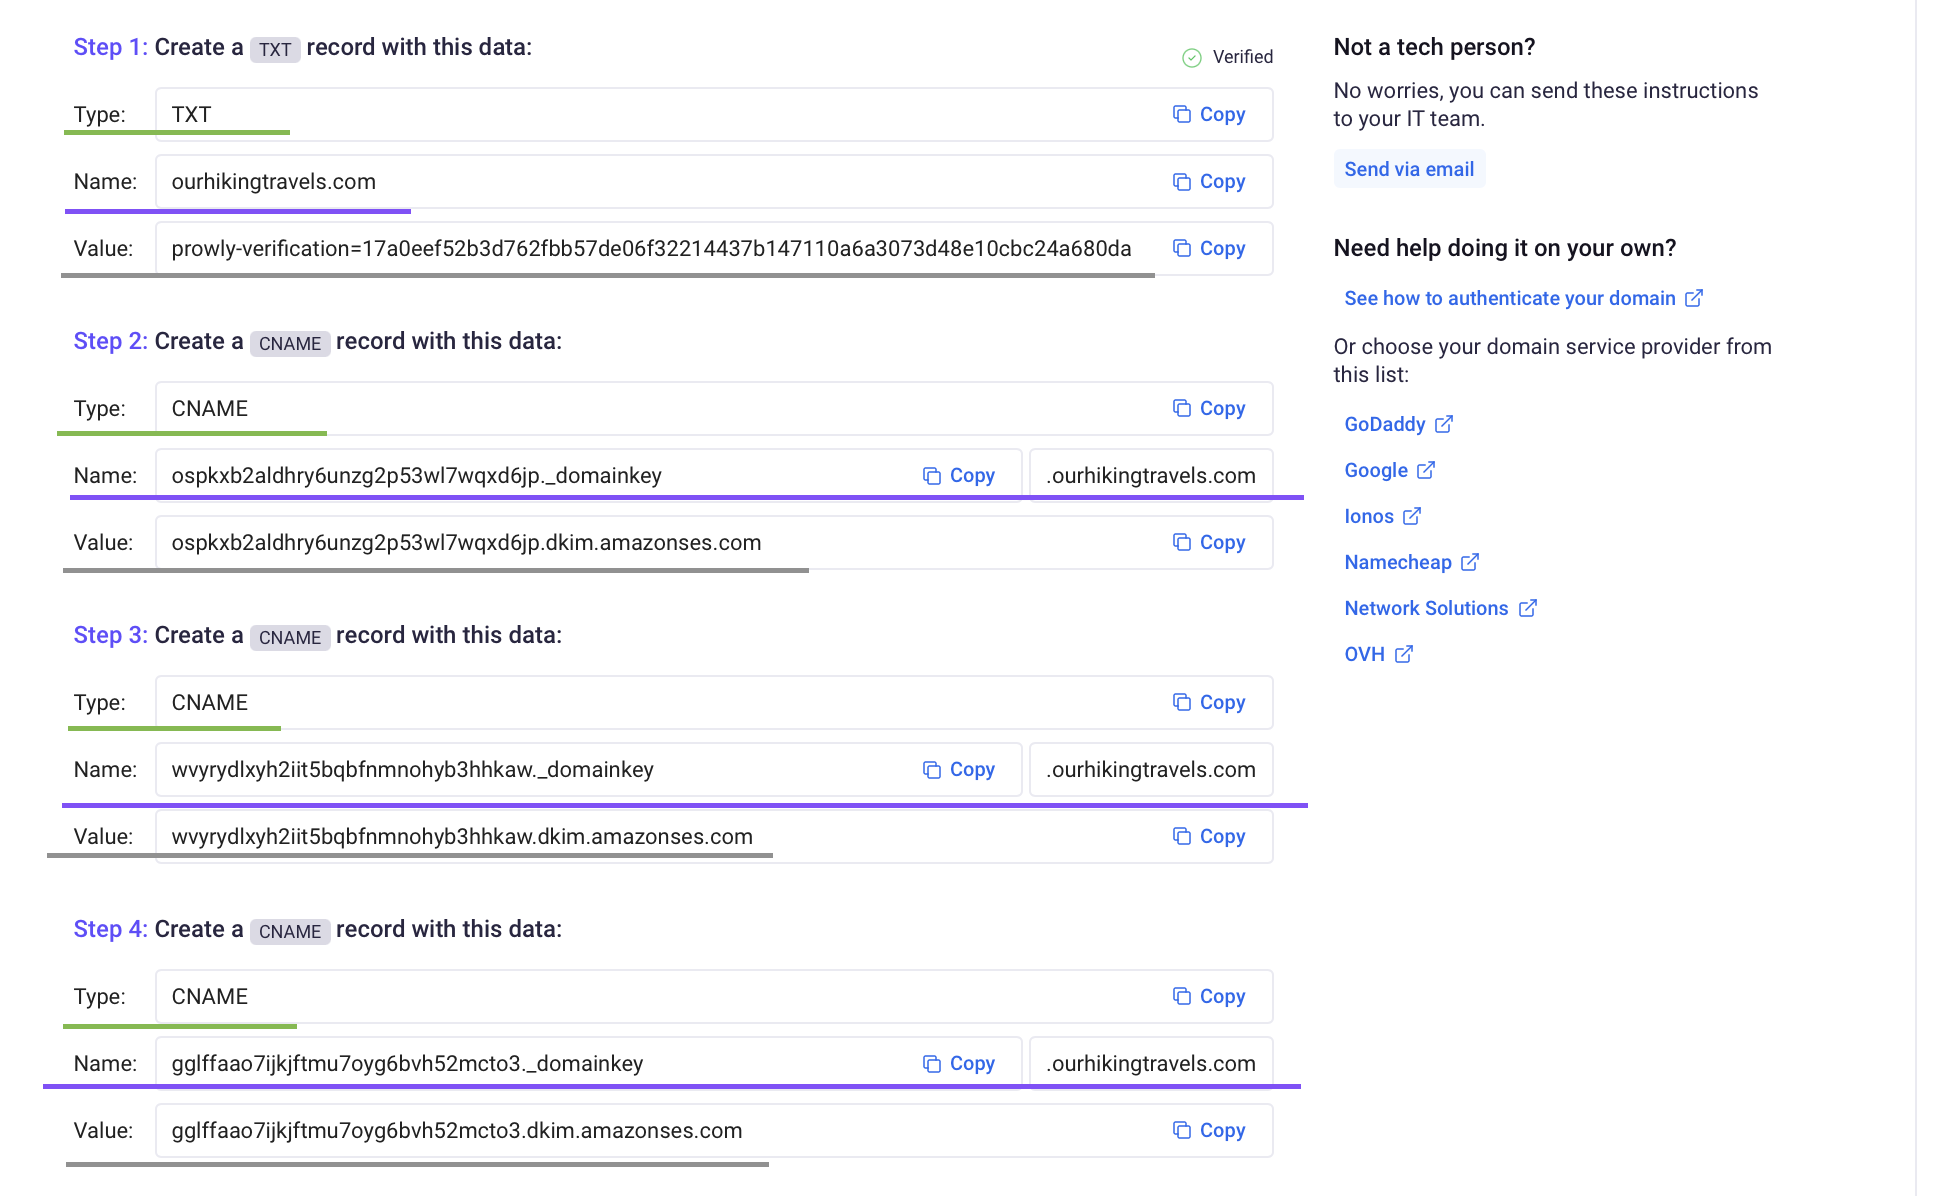
Parts underlined as green are record types and parts underlined as purple are record names. The texts underlined as grey are record values (also called target in NameCheap). These details are different for every domain therefore please treat these screenshots as an example.
This information is very important to configure the DNS records in Amazon properly.
TXT record: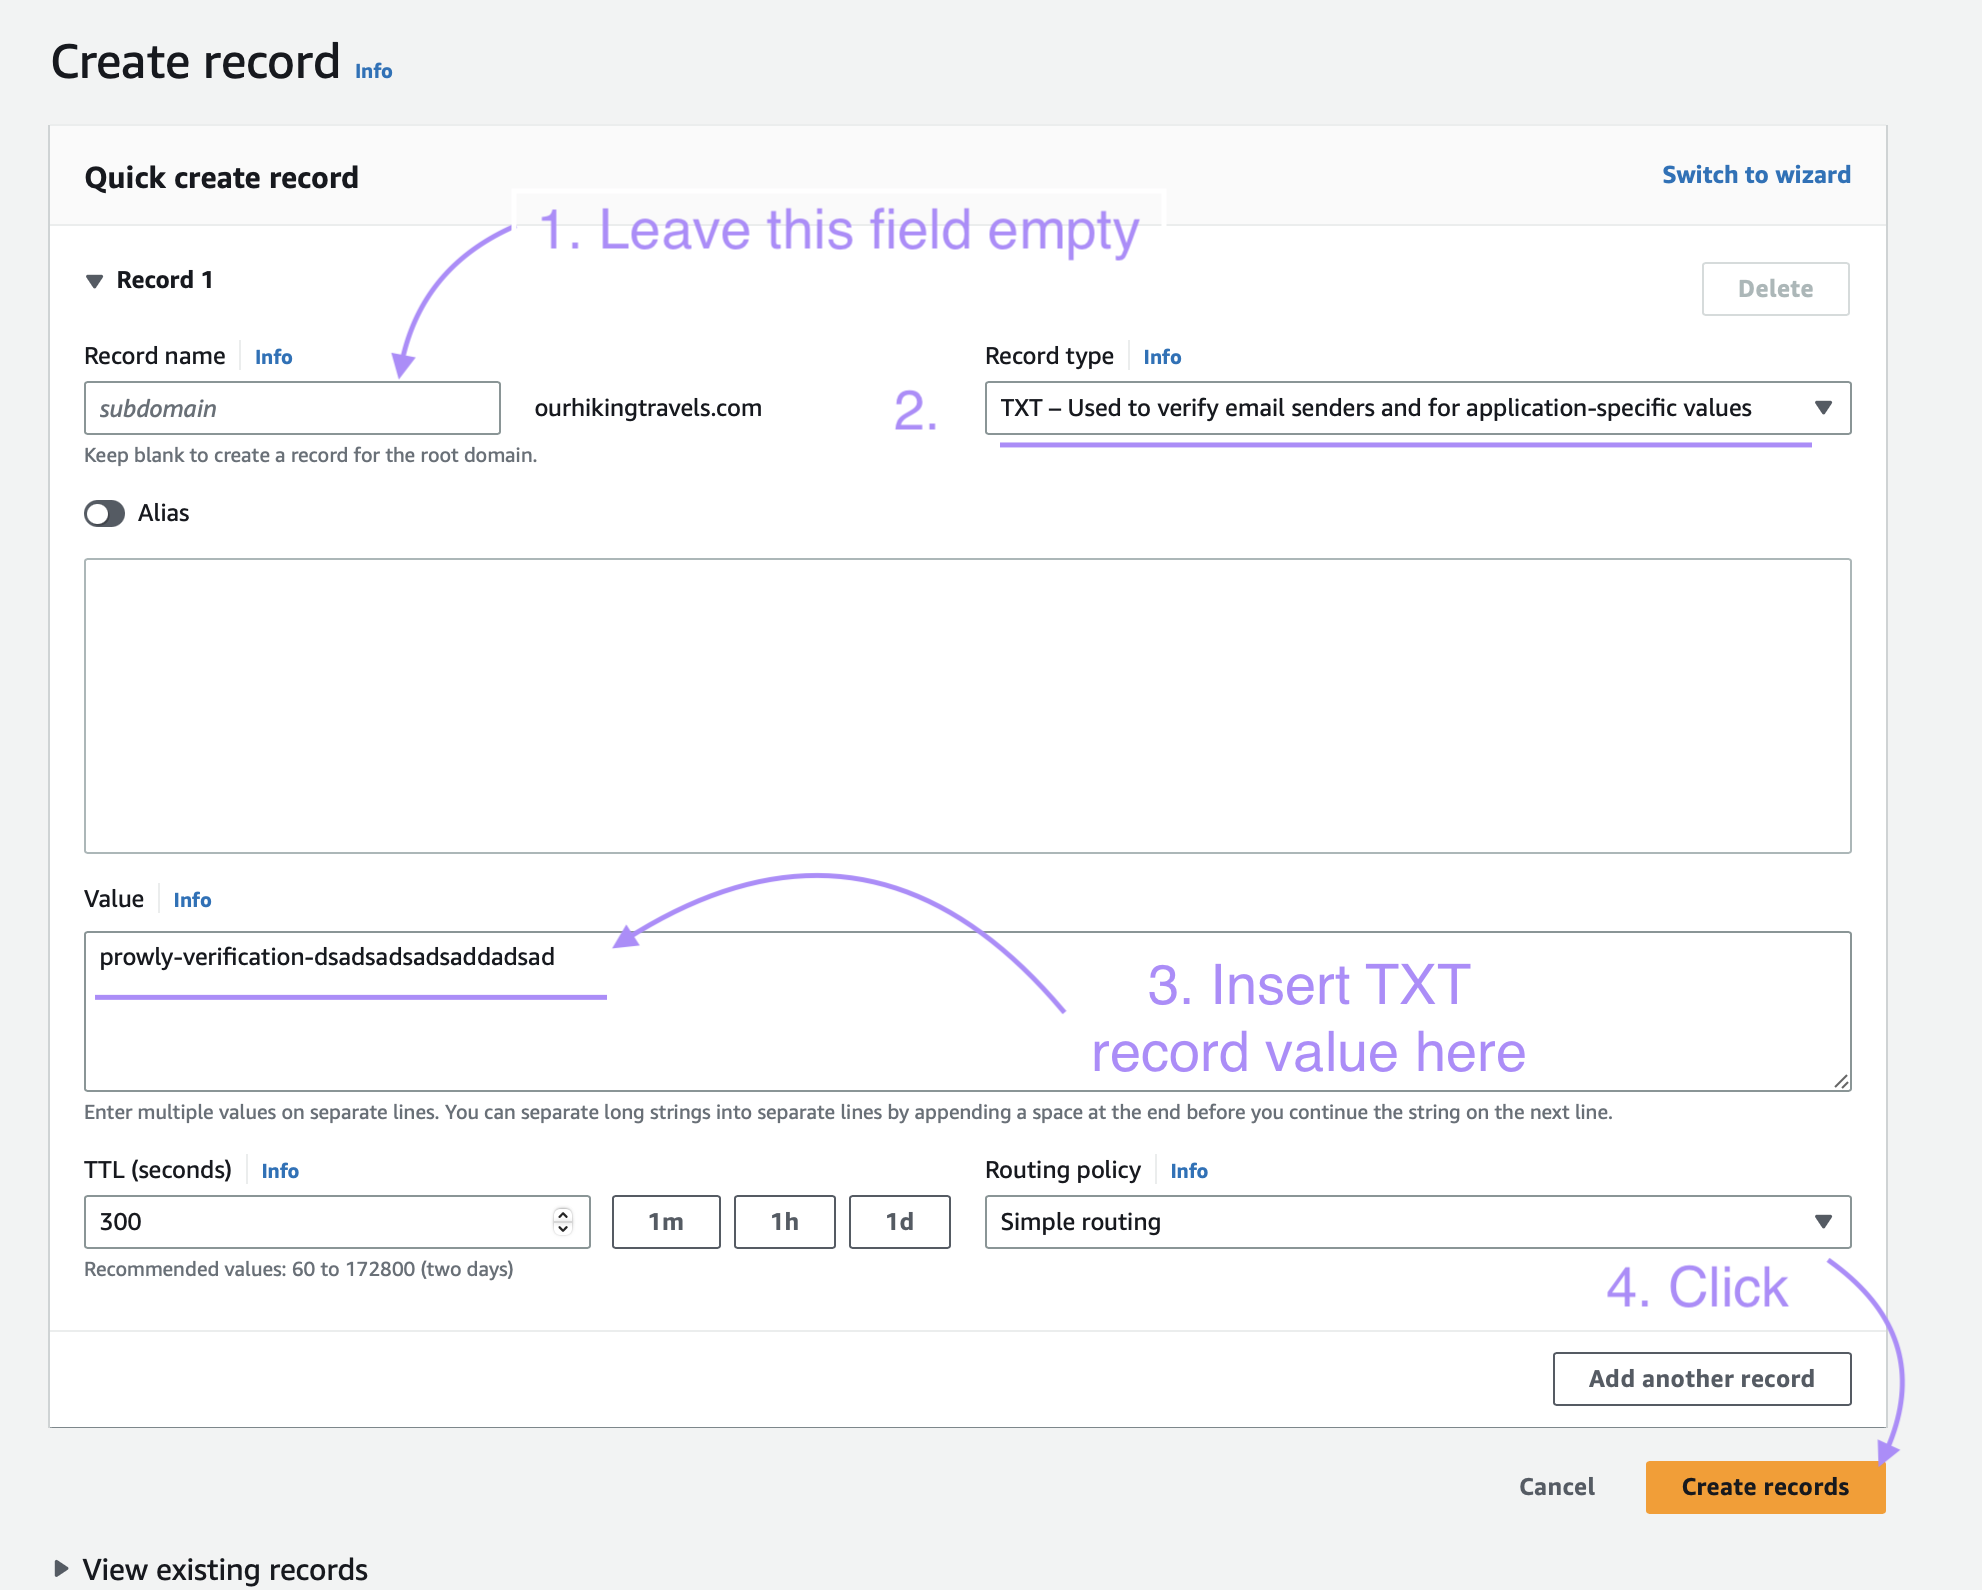
CNAME records settings (repeat three times with specific record values):
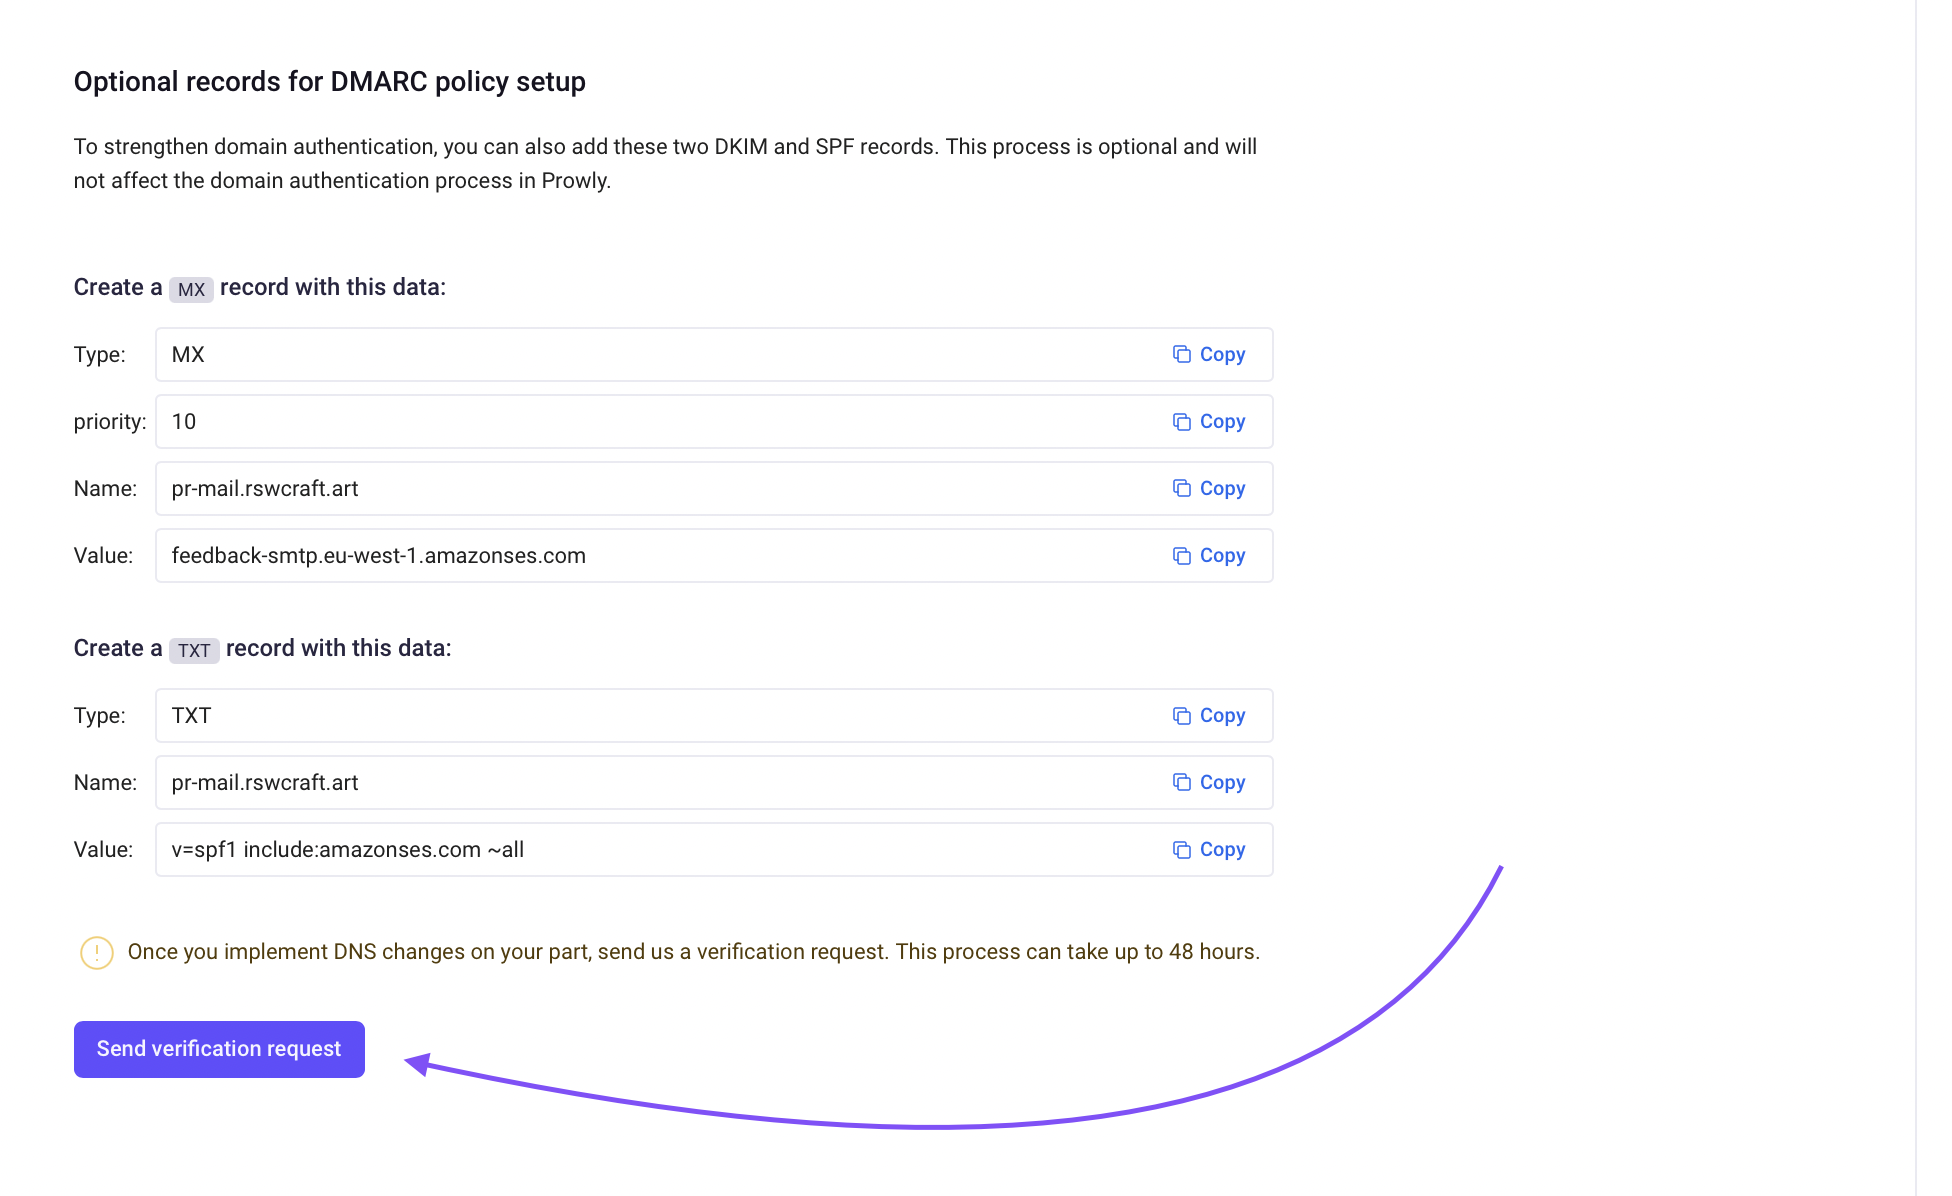
Now after you successfully configure all the DNS records, you may need to wait up to 48 hours for all the records to be updated in the DNS zone. This is an inevitable process due to how the propagation of DNS records works.
After that time please go back to the Prowly domain authentication screen and click on Verify configuration.
After a short while you should be able to see the screen that your domain has been authenticated properly.