This article contains instructions on how to configure DNS records necessary for domain authentication in Prowly, when your domain provider is OVH. If you use any other domain provider or do not know how to enable authentication in Prowly, please refer to this article first.
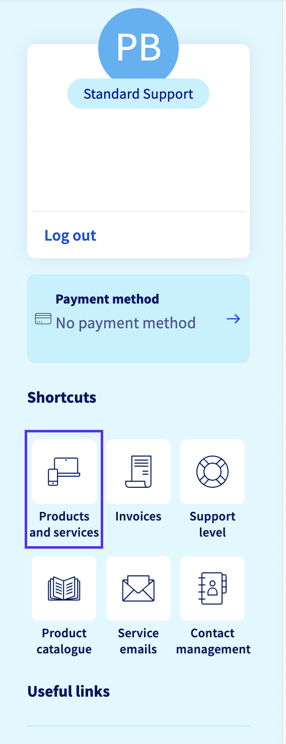
Log into your OVH account.
- On the right-side menu choose the "Product and Services" button.
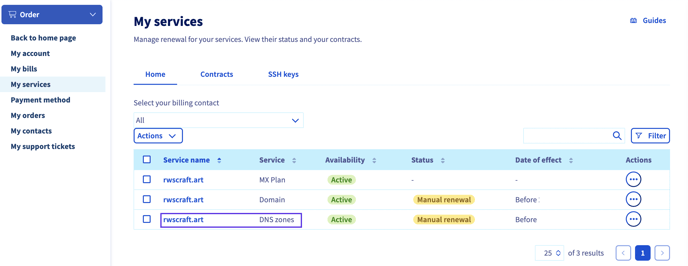
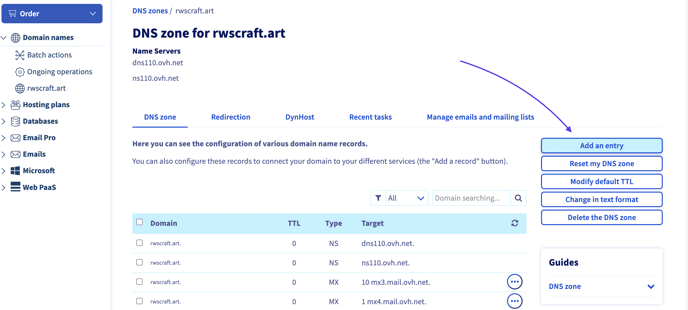
- By clicking on the proper row, go to the DNS zone of your domain.
- On the right side click "Add an entry".
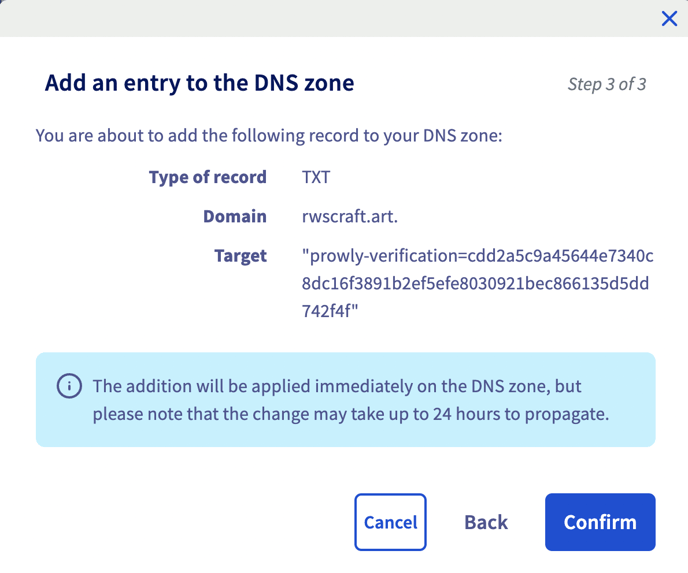
- You should see a pop-up window with the 3 steps of adding a record. First, choose the type of record from the records list.

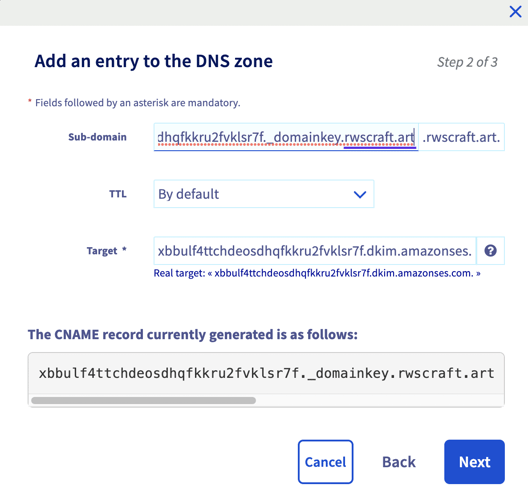
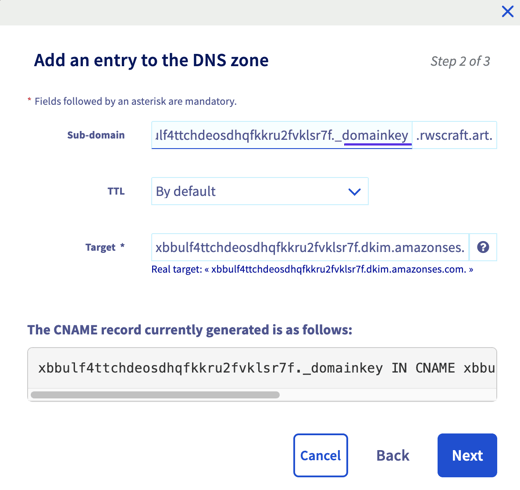
- Next, copy all the data to the correct fields: subdomain (a record name - purple) and value (record data - blue) as in the below pattern. For the first TXT record, the subdomain field leaves empty.
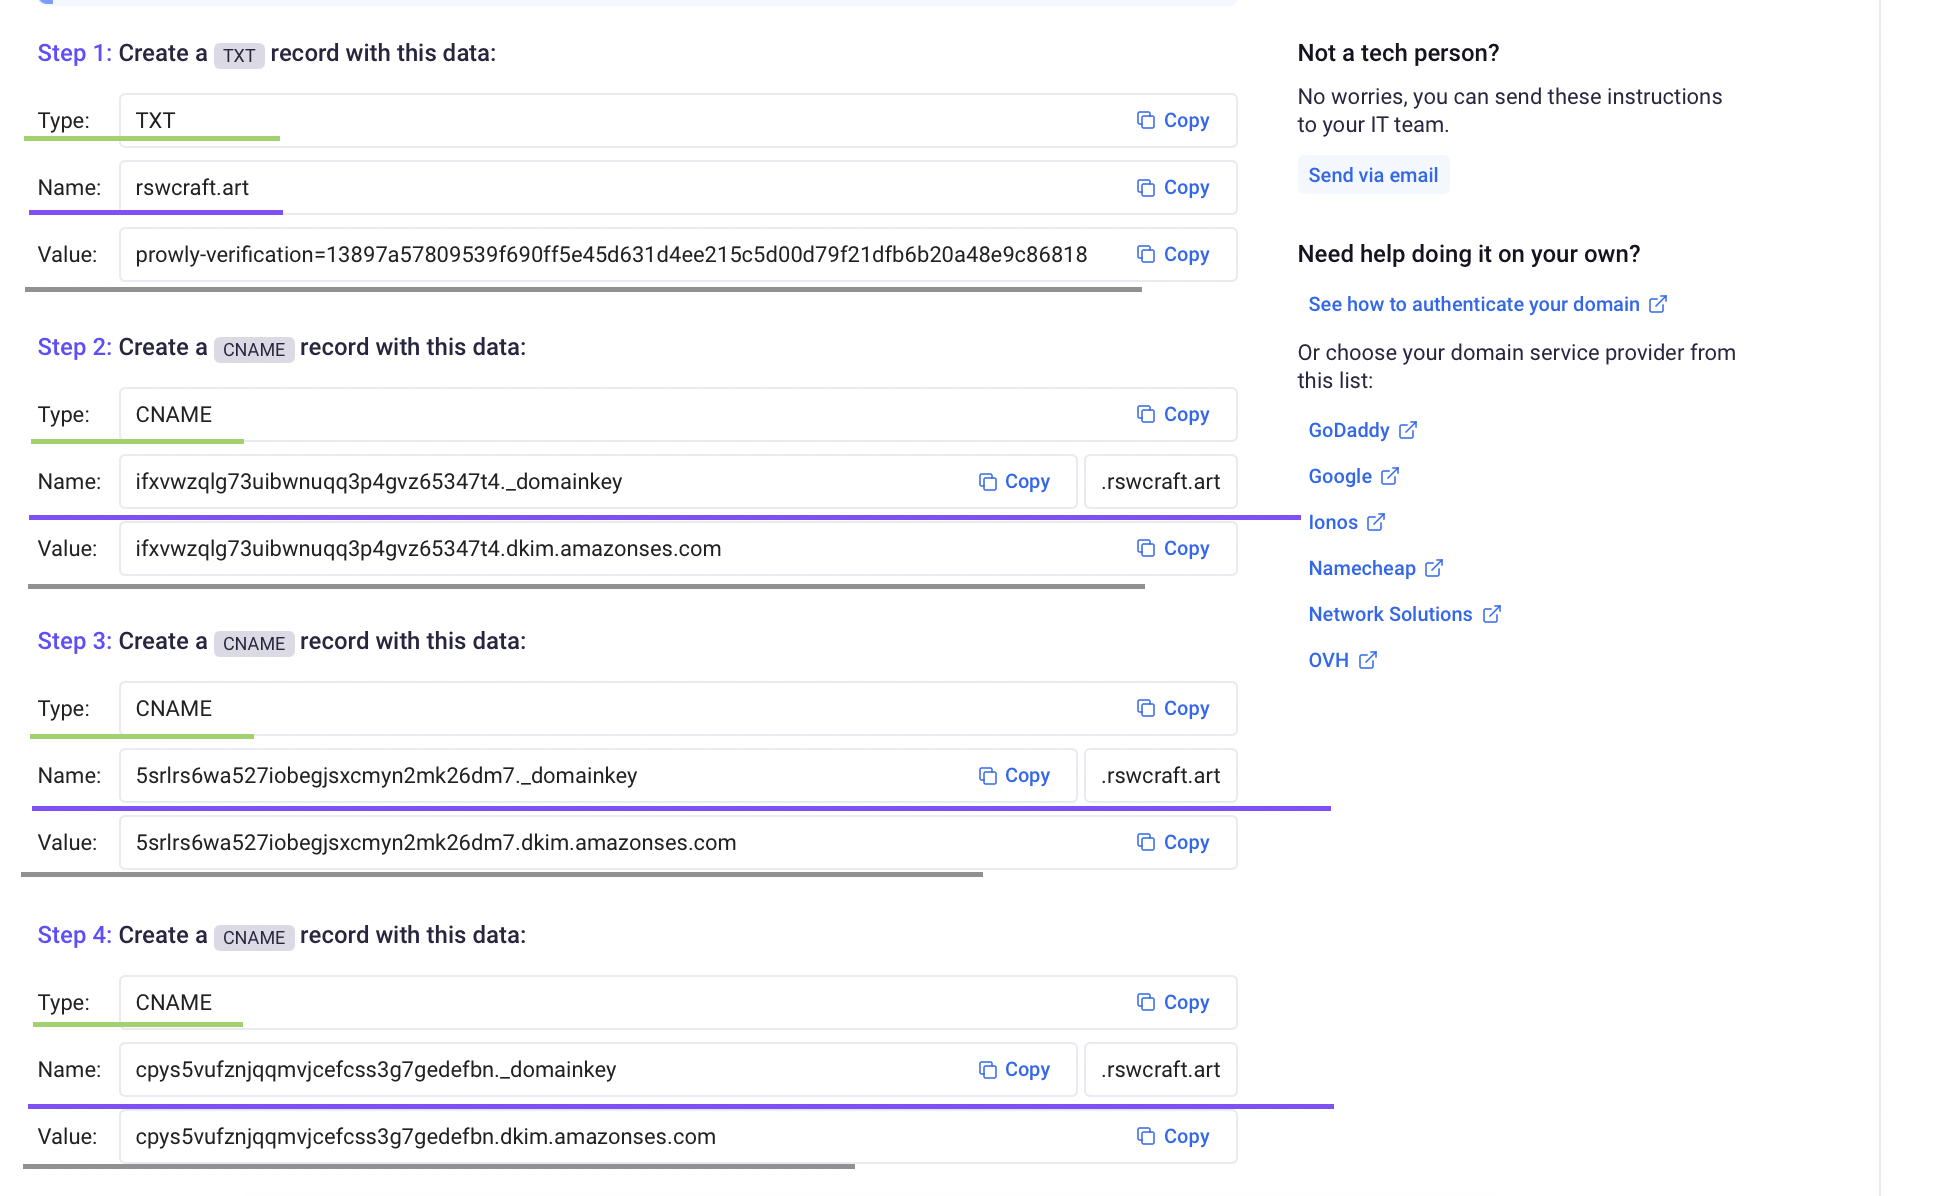
Please, remember that some domain providers add domain names by default so you have to skip this part in the Subdomain field like below.
6. After successful record adding you should see a green bar with the information.
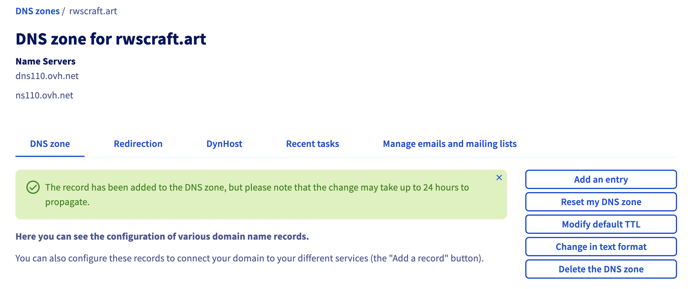
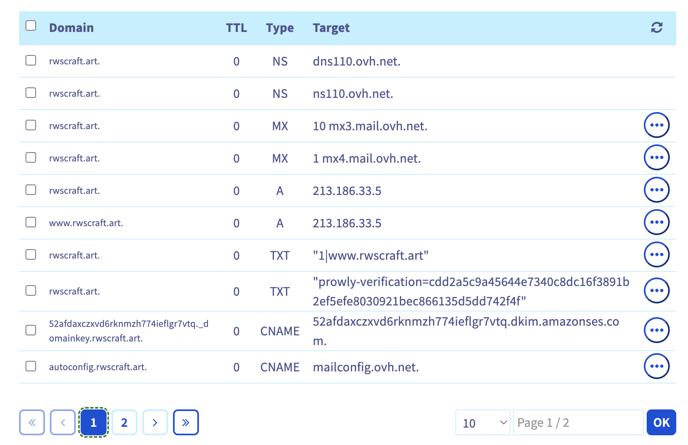
7. Make double-check between records in Prowly App and your DNS zone if everything is filled correctly.
Now after you successfully configure all the DNS records, you may need to wait up to 48 hours for all the records to be updated in the DNS zone. This is an inevitable process due to how the propagation of DNS records works.